


| Site Updated: | Page Updated: Tue, Jan 09, 2007 |
( Exterior Lights (overview) )
( Headlights Front Lights )
For the most part, the lights in the back of the motorhome simply needed upgrading. Replacing the existing lights with Light Emitting Diode (LED) fixtures, adding a center high mount stoplight (commonly called a third brakelight), and using an extra set of taillights are the primary upgrades. Determining where to start was simplified by the federal rules, which clearly describe minimum requirements and mounting locations.
The motorhome originally had a mix of round and rectangular lights which, to me, made the lights look like an afterthought. I decided to use all rectangular lights because of my preference in headlights. Even though colored lenses would be consistent with my "vintage appearance" goal, I decided all clear lenses would make a distinctive design statement.
(Photo courtesy of Saving Grace Supply)
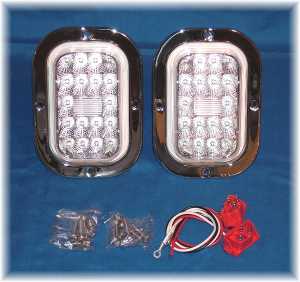
I bought the first set of rectangular taillights from Saving Grace Supply. I planned from the start to mount them horizontally, even though the picture (above) showed the lights in a vertical orientation. One day, in order to show how I intended to use them, I rotated the picture and started to trim it to show only one light. However, before I cropped the image, I noticed that the two lights, stacked one above the other, looked very much like what I was planning to do with the headlights.
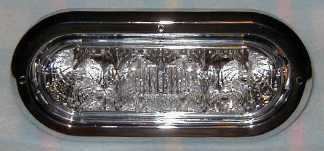
(Photo courtesy of Saving Grace Supply)
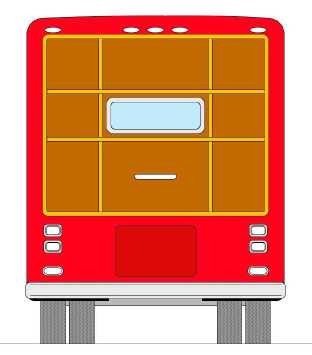
I did some checking and, sure enough, there were LED backup lights (above) that matched the front turn signals I was planning to use. (The difference is limited to the color of light, white or amber, produced by the LEDs. Otherwise, the lights are identical in appearance.) This all merged into the realization that, with a second set of taillights, the front and rear light arrangements could be very similar in appearance. Although the vertical spacing will probably change, these drawings (below) show the relative size and general appearance of my plans for the front and rear lights.
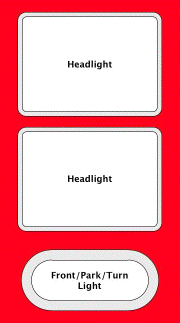
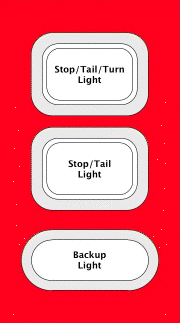
Note: The top set of taillights will provide the normal stop/tail/turn functions and the bottom pair will be stoplight and taillight only (no turn signal function).
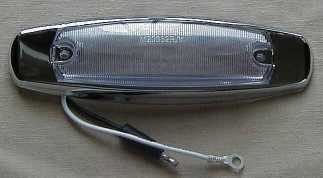
Having settled on a design for the main lights, I turned my attention to the clearance lights. Initially, I planned to use these rectangular lights (below, shown with the LEDs lit) and ordered one each, red and amber, for evaluation. They worked great. I hooked each of them to a standard nine volt battery and let them run to see how long it'd take to drain the batteries. The typical twelve volt light-bulb will wipe out a nine volt battery in a few days. After a month of continuous operation, the LED lights were still lit, although much, much more dimly.
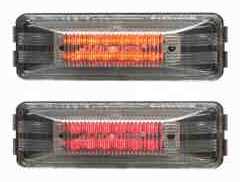
(Photo courtesy of Saving Grace Supply)
As is sometimes the case, the website (or catalog) pictures aren't the same as holding an item in your hands, which is the reason I ordered two for evaluation. Once I got a good look at them, I realized they wouldn't fit my design very well, even though they worked perfectly. The next alternative (below) are functionally identical to the first lights and fits in nicely with my overall design concepts.
(Photo courtesy of Saving Grace Supply)
Even if the center high mounted stop lamp, commonly called the third brakelight, was not required, I'd still want one. I firmly believe the added warning will help keep inattentive drivers from slamming into the backend of my motorhome. The one shown below is fifteen inches wide and the only question is whether I should mount it above or below the window.

(Photo courtesy of KMT Service Parts)
As you can probably tell from the photo credits, I bought almost all my LED lights from Saving Grace Supply. They've proven to be a reliable, top-notch company with a comprehensive array of lights. The only thing they lacked was a center high mounted stop light suitable to my needs. For that, I turned to another proven supplier, KMT Service Parts.
Exterior Lights (overview)
Headlights Front Lights
 |
Federal Lighting Equipment Location Requirements http://www.nhtsa.dot.gov/cars/rules/standards/conspicuity/ |

